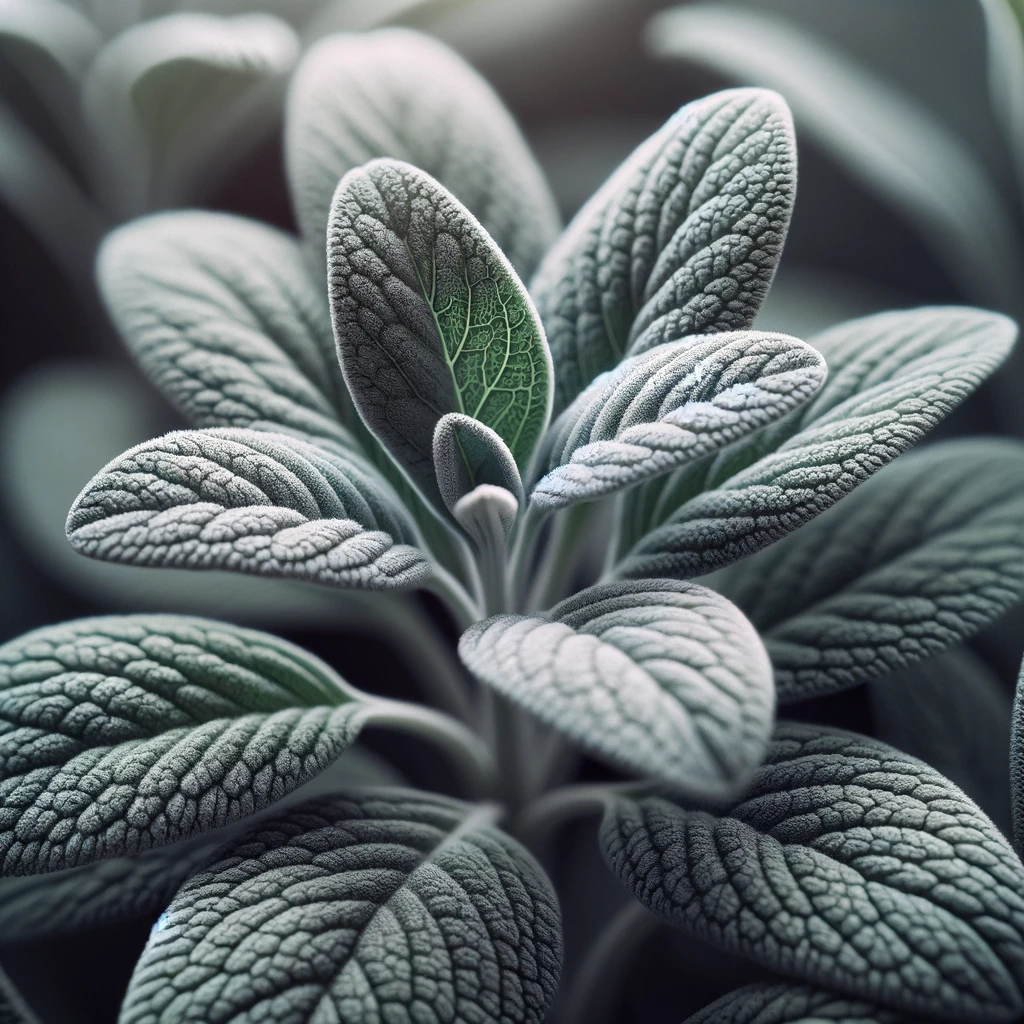
How to Grow Sage from Seed
I. Introduction: How to grow Sage from Seed
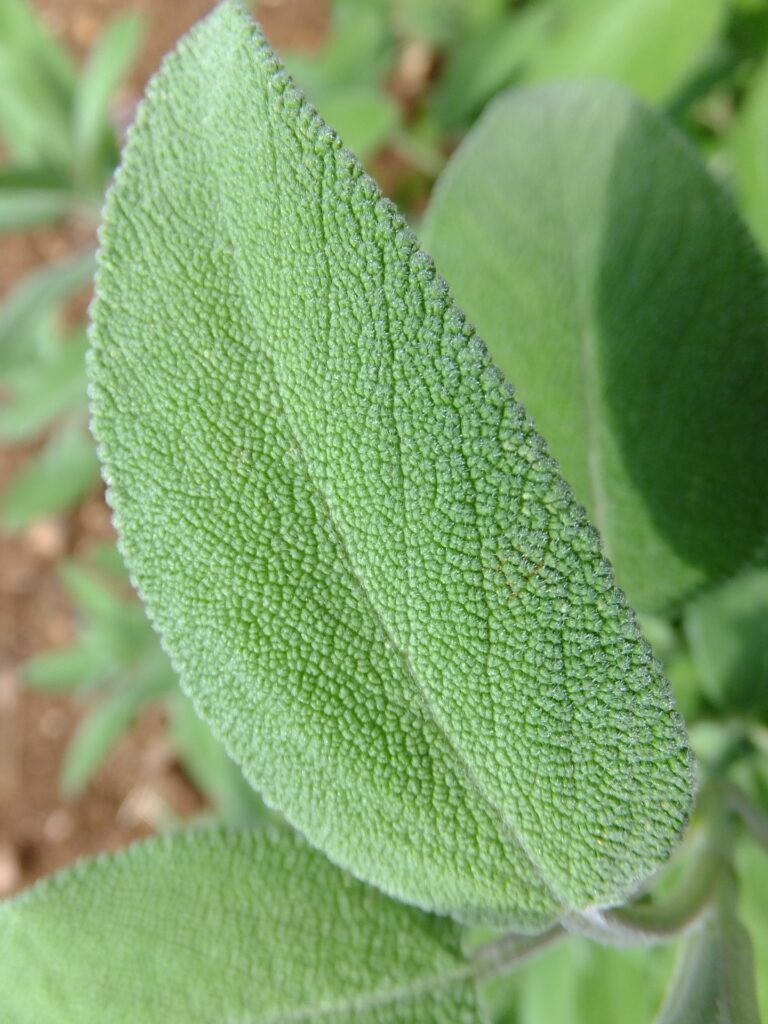
Growing sage from seed is a journey full of excitement and fulfillment. As an avid gardener, I have experienced the joy of watching these tiny seeds blossom into robust, fragrant plants. Sage, with its soft, grey-green leaves and captivating aroma, is not only a culinary staple but also a beautiful addition to any garden. In this guide, I will walk you through each step of this rewarding process, drawing from my own gardening adventures. Whether you’re an experienced green thumb or just starting out, the journey of growing sage from seed is a rewarding one, filled with learning and beauty. Let’s embark on this green adventure together!
a. Brief overview of growing sage from seed
Growing sage from seed is an enriching process that starts with selecting quality seeds and ends with the satisfaction of harvesting your own herbs. The journey involves preparing the right soil mix, sowing seeds, ensuring optimal germination conditions, and providing ongoing care through watering, sunlight exposure, and regular pruning. Sage, a perennial herb, is not just loved for its culinary uses but also for its medicinal properties and pleasant fragrance. This process requires patience and attention to detail, but the reward of homegrown sage is well worth the effort.
b. Personal enthusiasm and experience
As a passionate gardener, my experience with growing sage from seed has been incredibly gratifying. There’s something special about nurturing a plant from its earliest stage and watching it flourish. Each sprout brings a sense of achievement, and every leaf harvested is a testament to the care and effort put in. My kitchen has been enriched with the fresh, aromatic flavor of sage, all the more satisfying knowing it came from my own garden. This journey has not only deepened my appreciation for gardening but also strengthened my connection with nature.
II. Understanding Sage
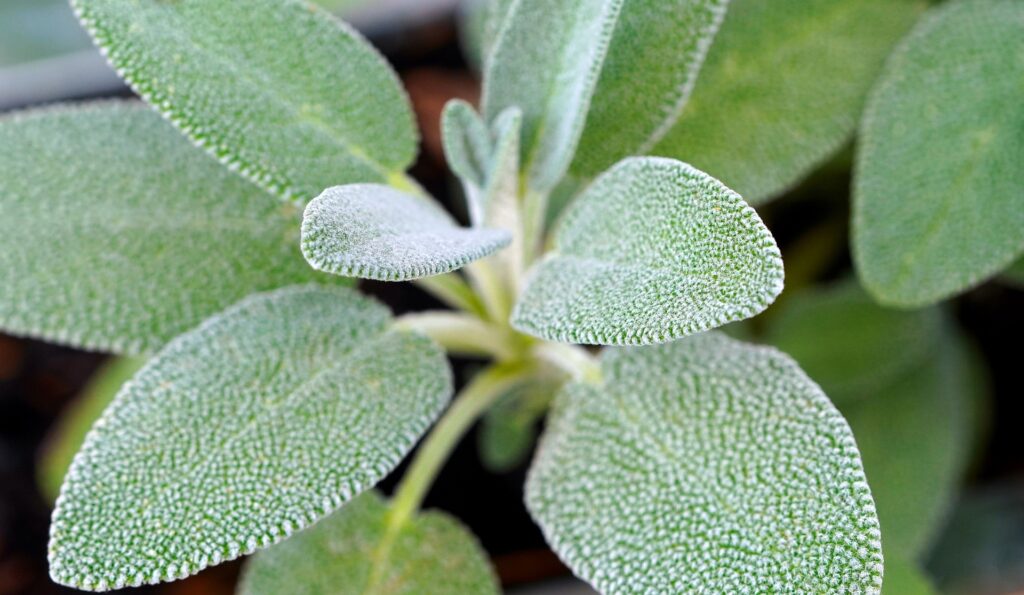
Sage, or Salvia officinalis, is more than just an herb; it’s a multifaceted plant steeped in history and utility. Originating from the Mediterranean, it’s renowned for its earthy flavor and health benefits. Sage stands out with its greyish-green leaves and a distinctive, slightly peppery taste. It’s a staple in culinary traditions, particularly in European cuisines, and is revered for its medicinal properties, including antioxidant and anti-inflammatory effects. Beyond its uses, sage is a hardy, easy-to-grow herb, making it a favorite among gardeners and chefs alike.
a. What is Sage?
Sage, is a revered herb in the culinary and medicinal world. Characterized by its silvery-green leaves and a distinctive earthy aroma, sage is a perennial plant belonging to the mint family. Originating from the Mediterranean region, it has been used for centuries, both in cooking and traditional medicine. Sage’s flavor is robust and slightly peppery, making it a popular herb in various cuisines, especially in dishes like stuffings, sausages, and savory butters.
Sage Stuffing Recipe
Sage stuffing is a classic and flavorful side dish, perfect for complementing a variety of main courses. Its rich aroma and earthy taste make it especially popular during holiday feasts like Thanksgiving and Christmas. Here’s a simple yet delicious recipe for sage stuffing:
Ingredients:
1 loaf of day-old bread (white or whole wheat), cubed
1/4 cup unsalted butter
1 large onion, finely chopped
2 celery stalks, chopped
2-3 garlic cloves, minced
1/4 cup fresh sage leaves, chopped
2 teaspoons dried thyme
1/2 teaspoon salt
1/4 teaspoon black pepper
2 cups chicken or vegetable broth
2 large eggs, beaten
Instructions:
Preheat your oven to 350°F (175°C).
Spread the bread cubes on a baking sheet and bake for about 10 minutes or until lightly toasted. Transfer to a large mixing bowl.
In a large skillet, melt the butter over medium heat. Add the onion and celery, and sauté until softened, about 5-7 minutes. Add the garlic, sage, thyme, salt, and pepper, cooking for another 2 minutes.
Pour the vegetable and herb mixture over the toasted bread cubes. Toss to combine.
In a separate bowl, whisk together the broth and eggs. Pour this over the bread mixture, stirring until evenly moistened.
Transfer the mixture to a buttered baking dish. Cover with foil and bake for 30 minutes.
Remove the foil and bake for an additional 20 minutes or until the top is golden and crisp.
Where to Use Sage Stuffing:
As a Side Dish: Serve it alongside roasted meats like turkey, chicken, or pork. It pairs wonderfully with gravy and cranberry sauce.
In Roasts: Stuff it inside poultry or meat roasts to infuse them with flavor as they cook.
In Casseroles: Use it as a layer in savory casseroles for added texture and flavor.
With Vegetables: Combine with roasted vegetables for a hearty vegetarian meal.
This sage stuffing recipe brings a traditional and aromatic touch to your meals, making it a perfect choice for festive occasions or a cozy family dinner.

b. Benefits of Growing Sage
Growing sage in your garden offers numerous benefits. Culinary-wise, fresh sage is superior in flavor and aroma compared to its dried counterpart, enhancing a variety of dishes. Medicinally, sage is known for its antioxidant and anti-inflammatory properties. It’s also a natural pest repellent, making it a valuable companion plant in gardens. Additionally, cultivating sage can be a therapeutic hobby, promoting relaxation and a sense of accomplishment. Its ease of growth and low maintenance needs make it an excellent choice for both novice and experienced gardeners.
Preparation for Planting
a. Choosing the Right Seeds
Selecting the right seeds is crucial for successful sage cultivation. Look for seeds labeled as Salvia officinalis, ensuring they’re non-GMO and organic for the best quality. High germination rate is key, so opt for seeds from a reputable supplier. Remember, the quality of your seeds significantly influences the health and yield of your sage plants.
b. Required Materials and Conditions
Preparing to plant sage requires specific materials and conditions. Essential items include well-draining soil, preferably a mix of garden soil and compost, and containers or a garden plot. Sage thrives in full sunlight, so choose a spot that receives at least 6-8 hours of direct sunlight daily. Consistent, moderate watering is necessary, ensuring the soil stays moist but not waterlogged.
Planting Process (H1)
Step-by-Step Guide to Planting
a. Soil Preparation
Begin by preparing the soil for your sage seeds. Select a well-draining spot in your garden or prepare containers with a mixture of potting soil and compost. The soil should be loose and fertile to allow for easy root growth. If the soil is heavy, consider adding some sand or perlite to improve drainage. A slightly alkaline pH is ideal for sage, so you might want to test your soil and adjust it if necessary.
b. Sowing the Seeds
Once the soil is ready, it’s time to sow the sage seeds. Plant the seeds about 1/4 inch deep into the soil. If planting in a garden bed, space the seeds or seedlings about 18 to 24 inches apart to give each plant enough room to grow. Gently press the soil over the seeds and water them lightly. The key is to keep the soil moist but not overly wet, as sage seeds are sensitive to overwatering.
c. Ideal Conditions for Germination
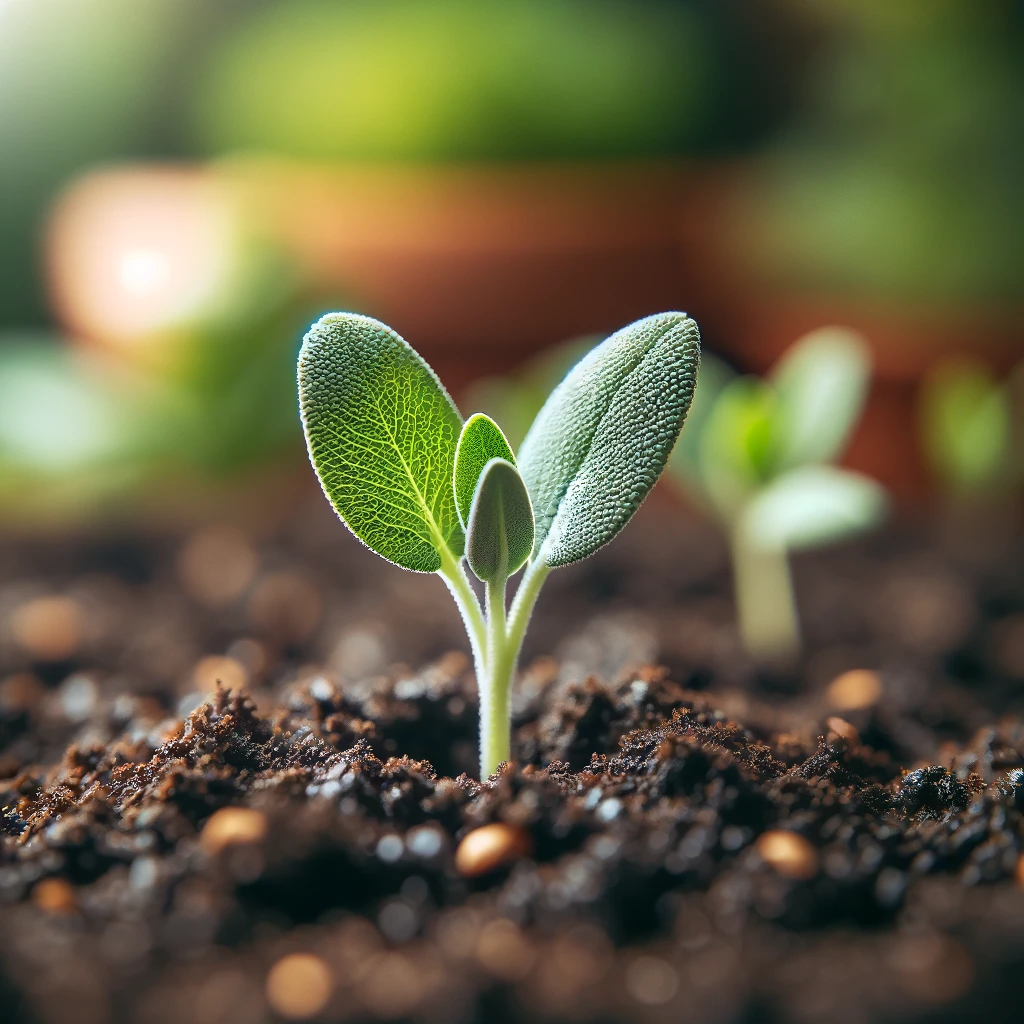
Sage seeds require specific conditions to germinate successfully. They need a consistent temperature of around 60-70°F (15-21°C). If you’re starting the seeds indoors, consider using a heat mat to maintain this temperature range. Sage seeds also require plenty of light to germinate, so place them in a sunny window or under grow lights if you’re starting them inside. It usually takes about two to three weeks for sage seeds to germinate, so be patient and keep providing consistent care during this period.
Caring for Your Sage Plants (H1)
a. Watering and Feeding
Sage plants prefer a ‘less is more’ approach when it comes to watering. Water them deeply but infrequently, allowing the soil to dry out between waterings. Overwatering can lead to root rot, a common issue with sage. As for feeding, sage doesn’t require much fertilizer. A light application of a balanced, organic fertilizer in the spring is sufficient. Too much feeding can diminish the plant’s flavor and aroma.
b. Sunlight and Temperature Requirements
Sage thrives in full sunlight, needing at least 6-8 hours of direct sun daily. This herb loves warmth and does best in temperatures between 60-70°F (15-21°C). While sage is fairly tolerant to temperature variations, extreme cold or heat can stress the plant. In regions with very hot summers, providing afternoon shade can help protect the plants.
c. Pruning and Maintenance
Pruning is essential for healthy sage growth. Regular trimming encourages fuller, bushier plants and prevents legginess. In spring, trim back any woody stems to promote new growth. Remove any dead or diseased foliage to keep the plant healthy. Additionally, sage can be susceptible to mildew; proper air circulation around the plant can help prevent this. Regular maintenance, including weeding and checking for pests, will keep your sage plants thriving.
Troubleshooting Common Issues
a. Dealing with Pests and Diseases
Sage is generally robust but can be susceptible to certain pests and diseases. Common pests include aphids, spider mites, and slugs. To combat these, use a gentle organic pesticide or introduce natural predators like ladybugs. For diseases like powdery mildew and root rot, ensure good air circulation and avoid overwatering. If a plant is affected, remove and destroy the diseased parts to prevent spreading. Using a fungicide can also be helpful in severe cases. Regular monitoring and maintaining clean gardening practices are key to keeping these issues at bay.
b. Addressing Poor Growth
If your sage plant is exhibiting poor growth, consider several factors. Overwatering or underwatering can hinder growth, so ensure a proper watering schedule. Sage requires full sunlight, so inadequate light might be a cause. Nutrient deficiencies can also affect growth; however, be cautious with fertilizing, as too much can harm the plant. Check the soil conditions – sage prefers well-draining, slightly alkaline soil. Sometimes, transplanting the sage to a better location or adjusting care routines can significantly improve its growth.
Harvesting Your Sage
a. When and How to Harvest
The best time to harvest sage is in the morning when the essential oils are strongest. Wait until the plant is well-established and has ample leaves. Use sharp scissors to cut the stems, leaving a few leaves on each so the plant continues to grow. Harvesting just before the plant flowers ensures the most flavorful leaves.
b. Storing and Using Sage
Fresh sage can be used immediately or stored for later use. For short-term storage, wrap the leaves in a damp paper towel and keep them in the refrigerator. For long-term storage, dry the leaves by hanging them in a cool, dark place, then store them in an airtight container. Dried sage has a more concentrated flavor and is perfect for seasoning a variety of dishes, from meat to soups and sauces.
Benefits of Homegrown Sage
a. Culinary Use
Sage is a versatile herb in the culinary world, celebrated for its robust flavor and aromatic properties. It’s a staple in many European cuisines, particularly Italian and British, often used in dishes like stuffing, sausages, and risottos. Sage pairs wonderfully with pork, beef, and poultry, adding depth to roasts and stews. It’s also used in butter sauces for pasta and is a key ingredient in herbes de Provence. Fresh sage leaves can be fried for a crispy garnish, and its slightly peppery taste enhances the flavor of vegetarian dishes, soups, and bread.

b. Medicinal and Aromatic Benefits
Sage has a long history of medicinal use, known for its antioxidant and anti-inflammatory properties. It’s used in herbal medicine to aid digestion, improve cognitive function, and relieve symptoms of menopause. Sage tea is a popular remedy for sore throats and coughs. Aromatically, sage is used in aromatherapy for its calming and cleansing properties. Burning dried sage leaves, a practice known as smudging, is believed to purify the air and promote a sense of well-being. The plant’s essential oils are also used in various skin care products for their therapeutic benefits.
Advanced Tips for Experienced Gardeners
a. Propagating Sage
Propagating sage is a simple and effective way to expand your herb garden. It can be done through cuttings or division. For cuttings, snip a 3-4 inch piece from a healthy sage plant, remove the lower leaves, and place it in a glass of water until roots develop. Then, plant it in soil. Alternatively, mature sage plants can be divided. Gently separate a portion of the plant, ensuring each section has roots, and replant them. Both methods are cost-effective, maintain the characteristics of the parent plant, and are great for sharing with fellow gardeners.
b. Varieties of Sage to Explore
While common sage (Salvia officinalis) is widely known, there are many other intriguing varieties to explore. Pineapple sage (Salvia elegans) offers a fruity aroma and attracts hummingbirds. Purple sage (Salvia officinalis ‘Purpurascens’) adds a splash of color with its purplish leaves. Clary sage (Salvia sclarea) is valued for its medicinal properties and large, aromatic leaves. Russian sage (Perovskia atriplicifolia), though not a true sage, is prized for its lavender-blue flowers and silvery foliage. Experimenting with different varieties can add diversity to your garden and kitchen, each bringing its own unique flavor and aesthetic.
Conclusion
a. Recap of the Joy and Benefits of Growing Sage
Growing sage brings numerous joys and benefits – from the delight of seeing seedlings emerge to the satisfaction of harvesting your own herbs. Its culinary versatility, medicinal properties, and aromatic pleasure make it a rewarding addition to any garden. The process of nurturing sage, watching it flourish, and using it in various forms offers a truly enriching experience.
b. Encouragement to Try
If you haven’t tried growing sage yet, I highly encourage you to do so. It’s a low-maintenance, high-reward plant that suits both novice and experienced gardeners. The process is not only therapeutic but also empowers you to create a sustainable source of fresh herbs. Embrace the journey of growing sage – the rewards, both in your garden and kitchen, are well worth the effort.
FAQs: How to grow Sage from Seed
1. Can I grow sage indoors?
Yes, you can grow sage indoors. Just ensure it gets plenty of sunlight by placing it near a sunny window or using a grow light.
2. How often should I water my sage plant?
Water your sage plant when the soil feels dry to the touch. Sage prefers drier conditions, so it’s better to under-water than over-water.
3. Does sage need a lot of fertilizers?
No, sage doesn’t need much fertilizer. A light feeding in the spring with a balanced, organic fertilizer is enough.
4. Can I use sage leaves immediately after harvesting?
Yes, you can use sage leaves right after harvesting. They’re great fresh and add a burst of flavor to your dishes.
5. What should I do if my sage plant starts to wilt?
If your sage plant wilts, check for overwatering or poor drainage. Ensure it’s getting enough sunlight and adjust your care accordingly.
