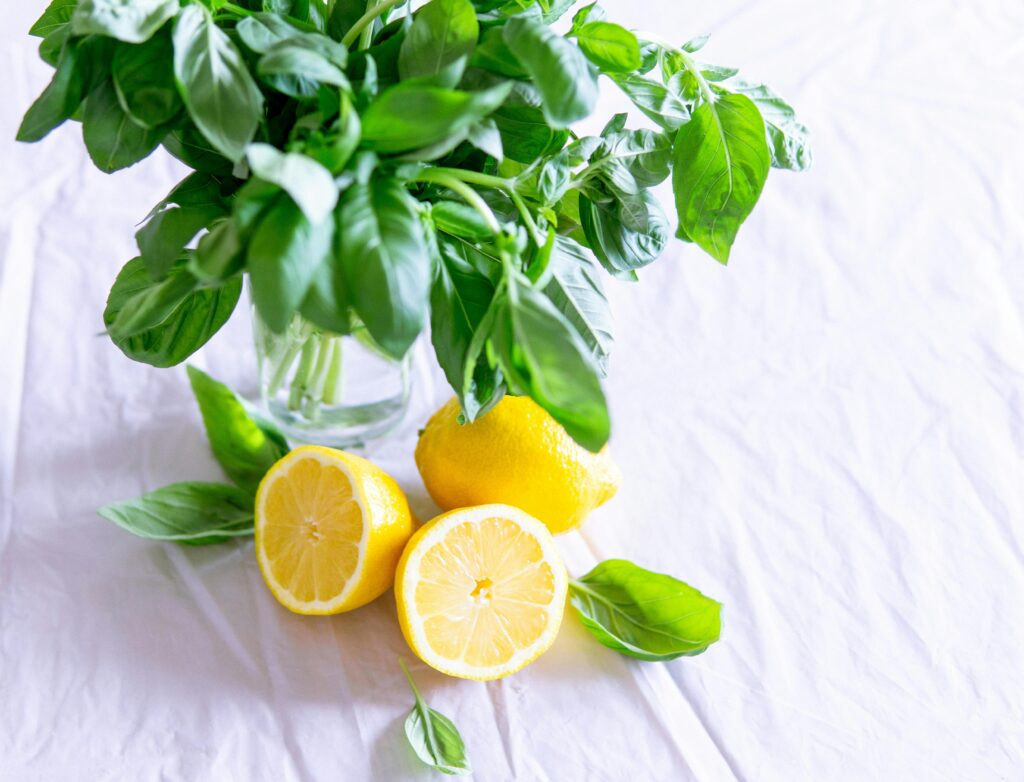
How to grow Basil From A Cutting
I. Introduction
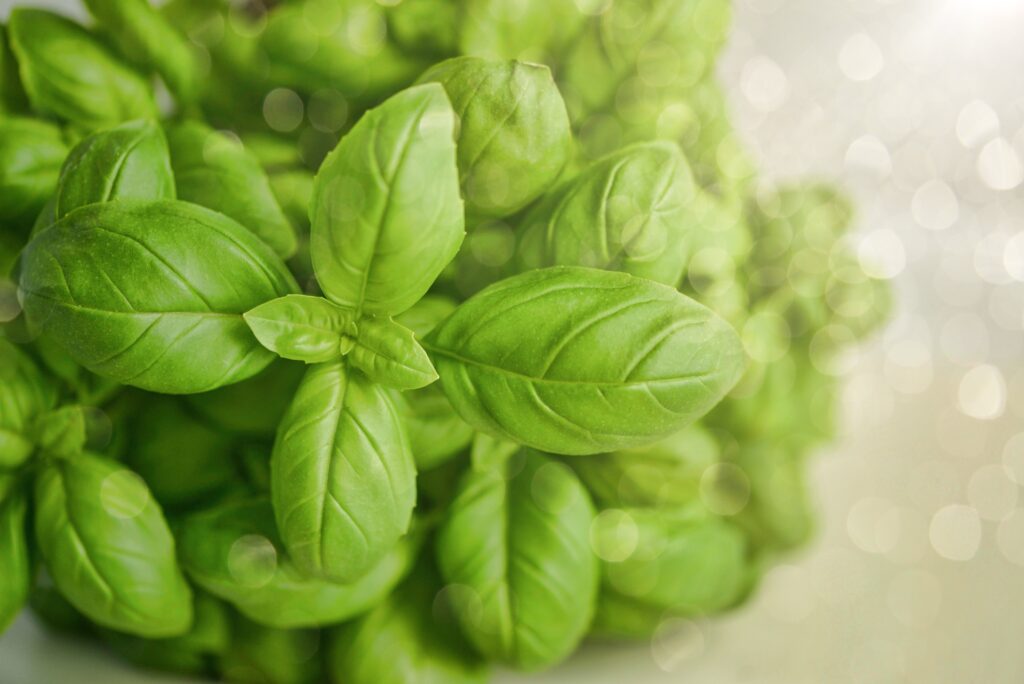
As someone who has always been fascinated by the simplicity and joy of growing herbs, I find basil to be a particularly rewarding choice. In this article, I’ll share my personal experiences and helpful tips on how to grow basil from a cutting. We’ll go through everything from the initial cutting selection to harvesting your home-grown basil.
a. Overview of growing basil from a cutting
Growing basil from a cutting is a simple and fulfilling gardening task. It involves selecting a healthy stem from an existing basil plant, preparing it by trimming the leaves, and placing it in water to root. This method is quick, usually showing roots within a week. Once rooted, the cutting is transplanted into soil and grown into a full basil plant, ready for kitchen use. This process is not only cost-effective but also allows gardeners to easily propagate basil, ensuring a steady supply of this aromatic herb.
II. Why Choose Basil?
Basil, a favorite among home gardeners, offers numerous benefits that extend beyond its culinary use. First and foremost, it’s incredibly easy to grow, making it ideal for beginners. Its vibrant leaves and pleasant aroma add a touch of greenery and freshness to any space. Health-wise, basil is known for its rich antioxidant properties, contributing to overall wellness. Growing basil at home also ensures you have a constant supply of fresh, organic herbs, free from pesticides, enhancing the flavors in your cooking. Additionally, its versatility in various cuisines and dishes makes it a practical and rewarding herb to cultivate.
b. Benefits of growing basil at home
Growing basil at home offers a multitude of benefits that extend beyond its culinary uses. Firstly, basil is known for its aromatic properties, enhancing the ambiance of any space with its fresh, sweet scent. This herb is incredibly versatile in the kitchen, used in a wide range of dishes, from Italian to Asian cuisines. Nutritionally, basil is rich in vitamins and antioxidants, contributing to a healthy diet. It’s also remarkably easy to grow, making it a perfect choice for both novice and experienced gardeners. Additionally, having fresh basil on hand reduces the need for store-bought herbs, ensuring you always have organic and fresh ingredients at your fingertips. This not only saves money but also supports a more sustainable lifestyle.
III. Getting Started with Your Basil Cutting
Embarking on the journey of growing basil from a cutting is both exciting and rewarding. The process starts with identifying a healthy basil plant as your source. You’ll need a clean pair of scissors or pruning shears for a clean cut, and a container filled with water to place your cutting in. This initial stage is all about ensuring that your cutting has the best possible start. Pay attention to the health of the mother plant and the conditions in which you start your cutting, as these factors significantly influence the success of your future basil plant.
a. Selecting the right basil cutting
Choosing the right cutting is crucial for growing basil successfully. Look for a young, healthy stem from an established basil plant. The ideal cutting should be about 4-6 inches long, with a vibrant green color and no signs of wilting or disease. Avoid woody or flowering stems, as they are less likely to root effectively. The cutting should have several leaf nodes, as roots will develop from these points. A well-chosen cutting, taken from a vigorously growing part of the plant, ensures a higher chance of successful rooting and a bountiful basil plant in the future.
IV. Preparation for Planting
a. Necessary Materials
To start planting your basil cutting, you’ll need a few essential materials. These include a clear jar or glass for rooting, fresh water, and sharp scissors or pruning shears for cutting. Ensure the water is at room temperature, as extreme temperatures can shock the cutting. Additionally, having a rooting hormone on hand can be beneficial, although it’s not necessary for basil. Choose a bright spot in your home that receives indirect sunlight, as direct sunlight can be too intense for new cuttings. These simple materials are the foundation for successfully rooting your basil cutting.
b. Preparing the Cutting
Preparing your basil cutting correctly is key to successful rooting. Start by making a clean, angled cut just below a leaf node, as this area is where roots are most likely to emerge. Remove the lower leaves, leaving only a few at the top to ensure the cutting focuses its energy on root development rather than sustaining a lot of foliage. If using a rooting hormone, dip the cut end into it before placing it in water. This step increases the chances of your basil cutting developing strong, healthy roots, setting the stage for a thriving plant.
V. Rooting Your Basil Cutting
a. Step-by-step Rooting Process
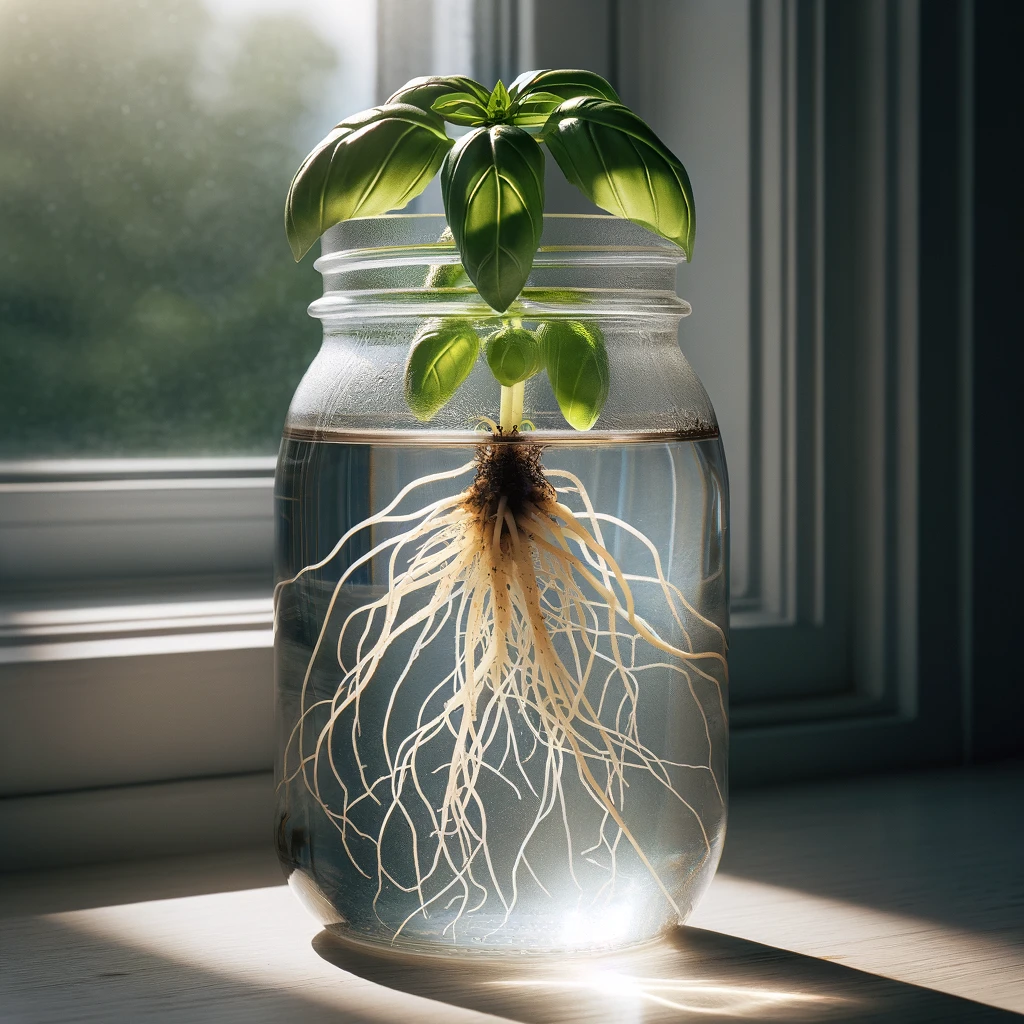
Rooting a basil cutting is a straightforward but delicate process. First, place your prepared cutting in the jar filled with water, ensuring the nodes where you removed the leaves are submerged. Position the jar in a spot that receives indirect sunlight to avoid the cutting getting scorched. Monitor the water level daily and change it every few days to keep it fresh and clear. Roots typically start appearing within a week. Be patient; the key is to provide consistent, indirect light and clean water. Once you see roots that are about an inch long, your basil is ready for the next stage of growth. This rooting process is essential for a healthy transplant into soil.
VI. Transplanting the Rooted Cutting
a. When and How to Transplant
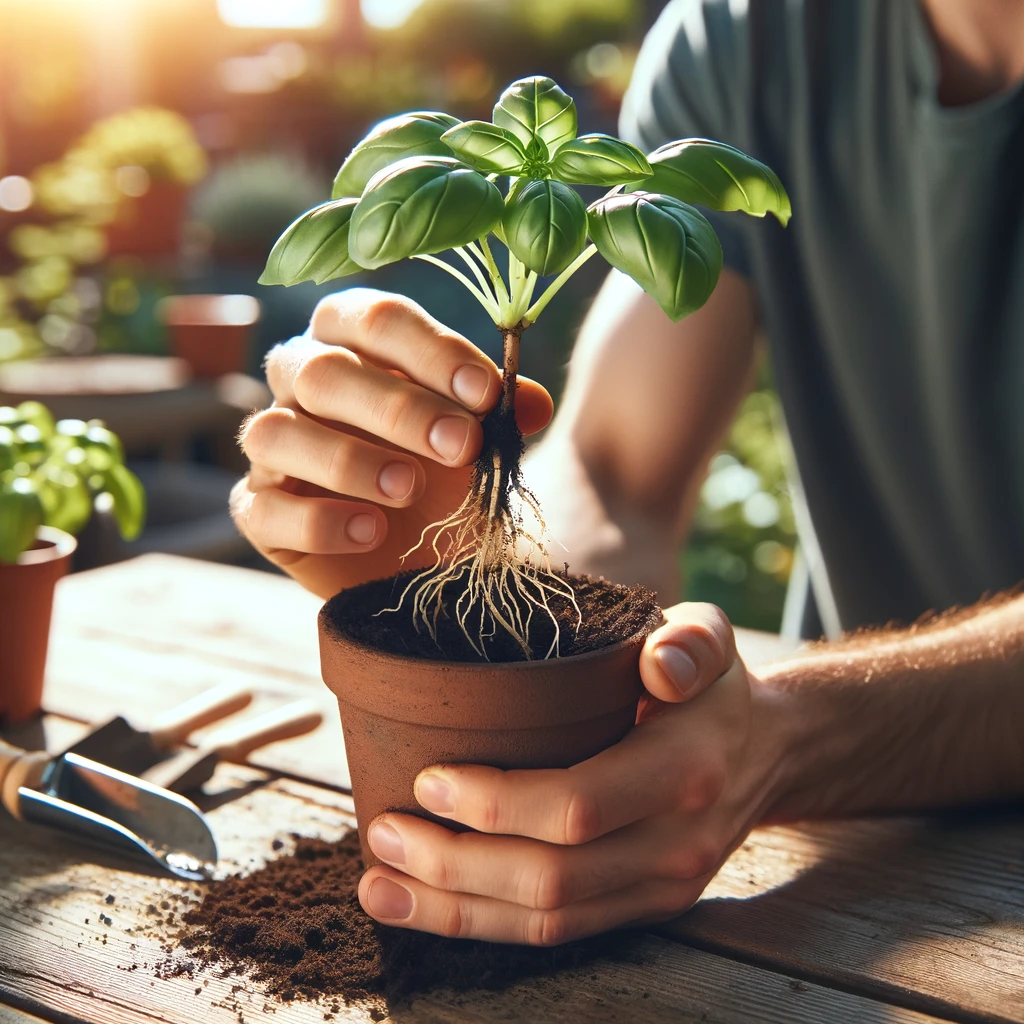
Transplanting the rooted basil cutting is a critical step in its growth journey. The ideal time to transplant is when the roots are about two to three inches long, which typically takes 2-4 weeks after the initial cutting. Choose a pot with adequate drainage and fill it with a high-quality potting mix. Carefully remove the basil cutting from the water, being gentle with the delicate roots. Make a small hole in the center of the potting soil and plant the cutting, ensuring the roots are spread out and not bunched up. Firm the soil around the stem and water it thoroughly. Place the pot in a sunny location where the basil can continue to thrive. This transition from water to soil is crucial for the basil plant’s long-term health and growth.
VII. Caring for Your Basil Plant
a. Sunlight and Watering Needs
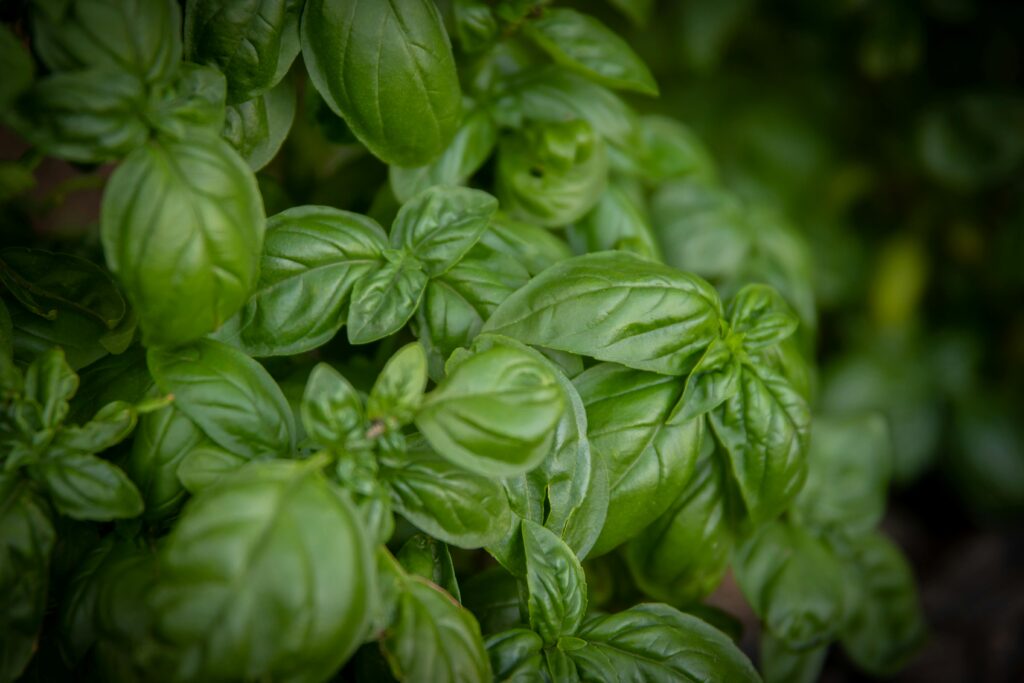
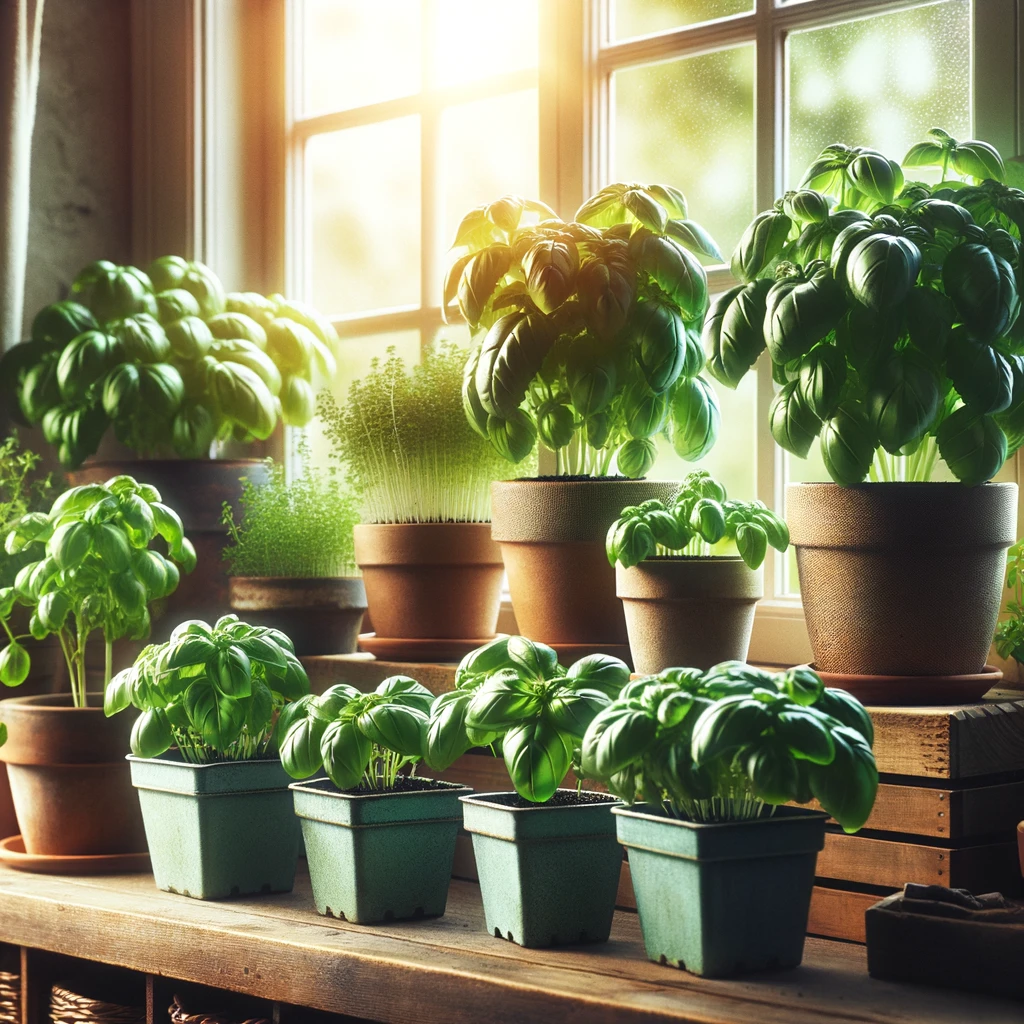
Basil plants thrive in abundant sunlight and consistent moisture. They require at least six hours of sunlight daily, so place them in a spot where they can bask in plenty of natural light. When it comes to watering, basil prefers soil that is moist but not waterlogged. Water your plant when the top inch of the soil feels dry to the touch. It’s important to strike a balance as both overwatering and underwatering can stress the plant. Regular watering, while ensuring good drainage, will keep your basil healthy and vibrant.
b. Soil and Fertilization
Basil grows best in well-drained, nutrient-rich soil. A high-quality potting mix is ideal for potted basil plants. The soil should be loose and fertile, with a slightly acidic to neutral pH. For fertilization, use a balanced, water-soluble fertilizer every 4-6 weeks during the growing season. This will provide the necessary nutrients for your basil to grow lush and full. Be cautious not to over-fertilize, as this can lead to weak growth and less flavorful leaves. With the right soil and fertilization, your basil will be well-equipped to grow robustly.
VIII. Pest Management and Common Issues
a. Identifying and Dealing with Pests
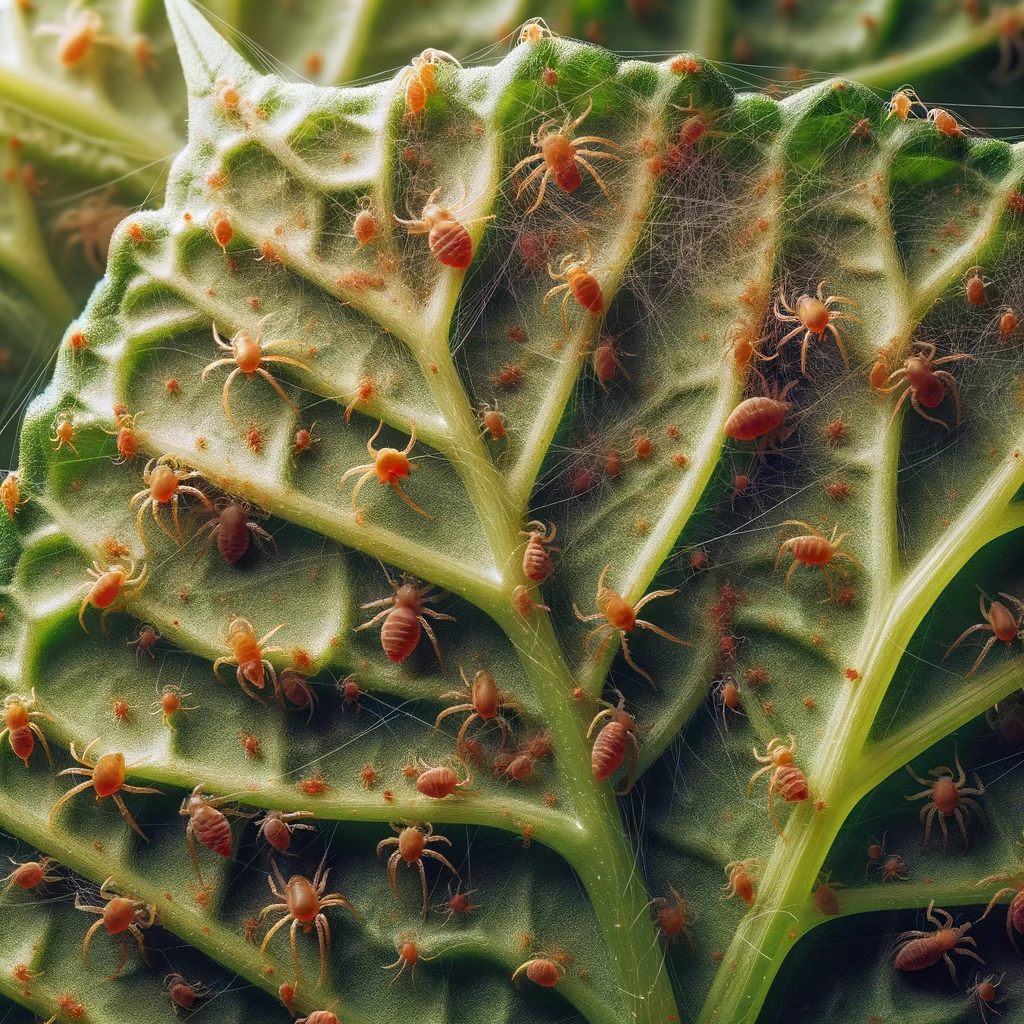
Basil plants can attract pests like aphids, spider mites, and whiteflies. These pests typically appear on the underside of leaves, causing yellowing, wilting, or distorted growth. To combat them, use a gentle spray of soapy water or neem oil, which are effective yet safe for the plant. Regularly inspect your basil for early signs of infestation. Keeping your plant healthy and stress-free also reduces the likelihood of pest attacks. Remember, prompt action is key to preventing these pests from causing significant damage to your basil.
b. Addressing Common Growth Issues
Common growth issues in basil include yellowing leaves, wilting, or stunted growth. These problems often stem from improper watering or inadequate sunlight. Ensure your basil receives enough light and adjust your watering routine to keep the soil moist but not soggy. Nutrient deficiencies can also hinder growth, so consider a balanced fertilizer if your plant seems lackluster. Avoid overcrowding as it can lead to poor air circulation, making your plant more susceptible to diseases. Regularly check and maintain the ideal growing conditions to keep your basil plant healthy and thriving.
IX. Harvesting Your Basil
a.. When and how to harvest
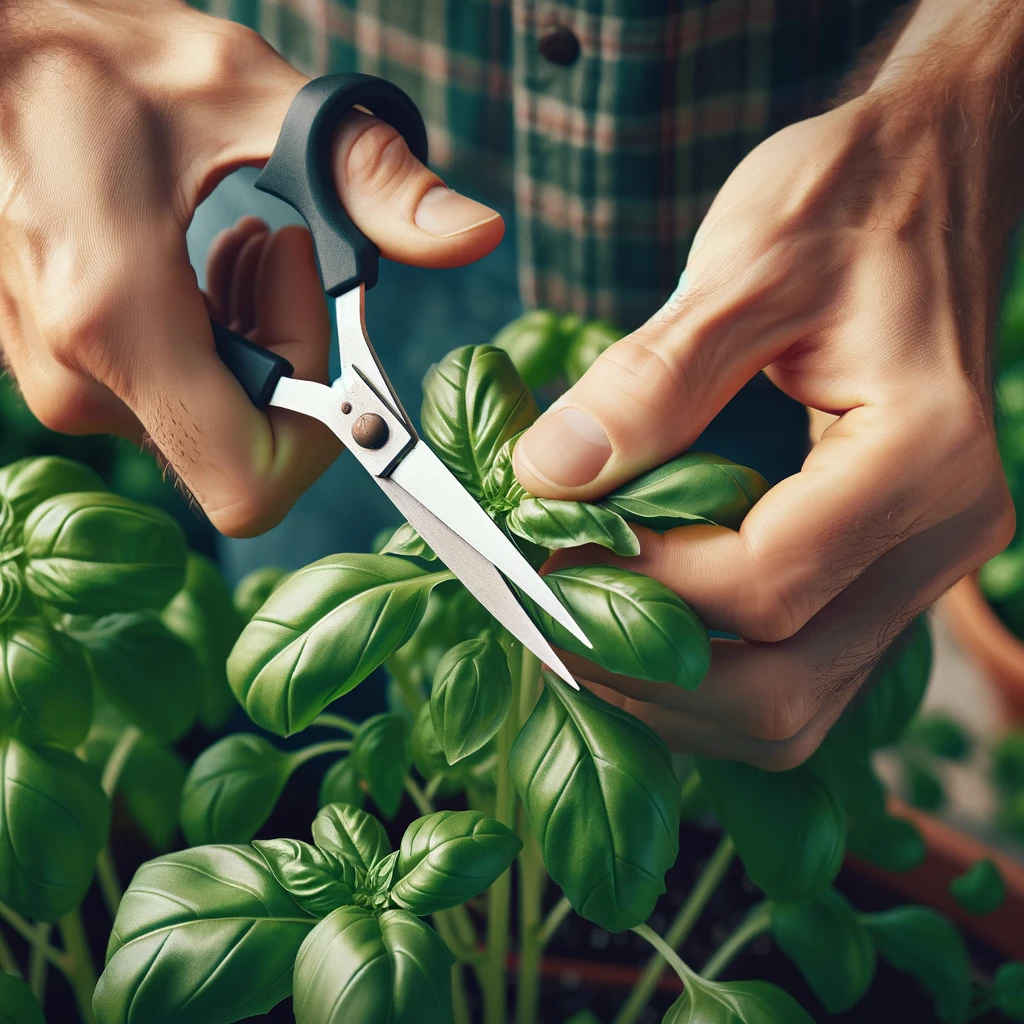
Harvesting basil is best done when the plant has become bushy and has a good number of leaves. The ideal time is in the morning when the plant’s oils are at their peak, offering the best flavor. To harvest, use scissors or your fingers to snip off the tops of the stems, just above a leaf pair. This encourages the plant to branch out and continue growing. Be sure not to harvest more than one-third of the plant at a time to avoid stressing it. Regular harvesting not only provides a continuous supply of basil but also promotes fuller, healthier growth.
X. Using Your Home-Grown Basil
a. Culinary uses and preservation
Your home-grown basil can elevate many culinary dishes with its fresh, aromatic flavor. It’s perfect for making pesto, adding to pasta sauces, topping pizzas, or infusing into oils and vinegars. Fresh basil also enhances salads, sandwiches, and cocktails. For preservation, you can dry the leaves by hanging them in a cool, dark place or using a dehydrator. Another effective method is freezing the leaves, either whole in airtight bags or chopped and mixed with olive oil in ice cube trays. These preservation techniques ensure you can enjoy the taste of your home-grown basil year-round.
Basil Pesto Recipe
Ingredients:
2 cups fresh basil leaves, packed
1/2 cup freshly grated Parmesan-Reggiano or Romano cheese
1/2 cup extra virgin olive oil
1/3 cup pine nuts (can substitute walnuts)
3 garlic cloves, minced
Salt and freshly ground black pepper to taste
Instructions:
In a blender or food processor, combine basil leaves, pine nuts, and garlic. Pulse until coarsely chopped.
Add the cheese and pulse again.
While the processor is running, gradually add the olive oil in a steady small stream. Adding the oil slowly while the processor is running will help it emulsify and help keep the oil from separating. Occasionally stop to scrape down the sides of the food processor.
Season with salt and pepper to taste.
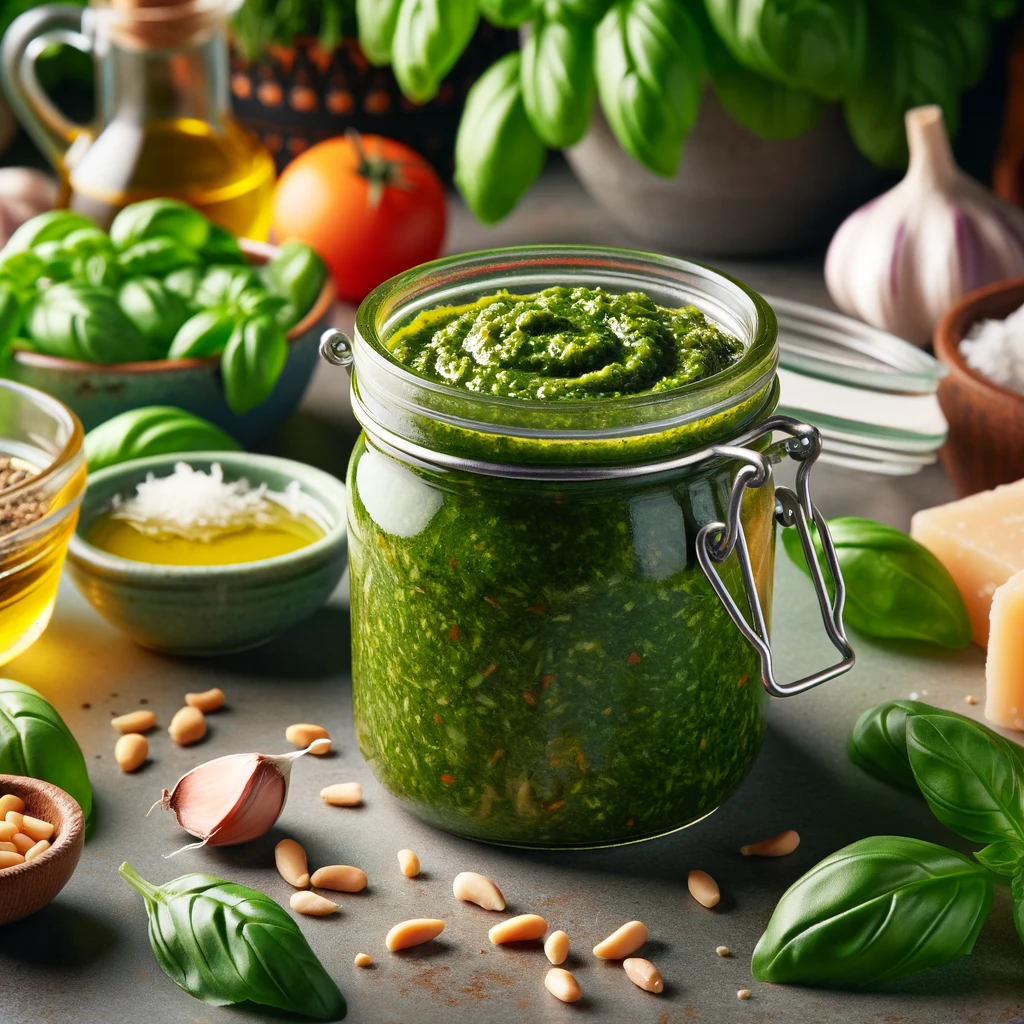
Store in a jar with a layer of olive oil on top, or freeze for extended use.
Basil pesto is versatile and can be used in pastas, as a spread for sandwiches, or as a flavorful addition to dressings and marinades. Enjoy the fresh, aromatic flavor of your home-grown basil with this classic recipe.
Now, let’s provide an image of the basil pesto.
Xi. Conclusion
a. Recap of the joys of growing basil
The joy of growing basil lies in the simple pleasure of nurturing a plant from a mere cutting to a lush, aromatic herb. There’s a unique satisfaction in watching those tiny roots develop, followed by the excitement of transplanting and seeing the basil flourish under your care. The fresh scent that fills your kitchen, the burst of flavor it adds to your dishes, and the pride of using home-grown herbs are incomparable. Growing basil is more than just a gardening activity; it’s a journey of patience, learning, and reward, bringing a touch of nature and freshness into your daily life.
Xii. FAQs About Growing Basil from Cuttings
1. How long does it take for basil cuttings to root?
Basil cuttings typically start developing roots within 7-10 days when placed in water. You’ll know they’re ready for soil transplant when the roots are about 2-3 inches long.
2. Can basil grow in indirect sunlight?
Yes, basil can grow in indirect sunlight, but it thrives best with at least six hours of direct sunlight daily. If you’re growing basil indoors, a sunny windowsill is an ideal spot.
3. Should I use fertilizer for my basil plant?
Using a balanced, water-soluble fertilizer every 4-6 weeks during the growing season will help your basil plant grow robustly. However, be careful not to over-fertilize, as this can lead to less flavorful leaves.
4. How often should I water my basil plant?
Water your basil plant when the top inch of soil feels dry. The frequency depends on various factors like the plant’s size, the pot’s size, and the ambient temperature. Generally, this means watering every few days.
5. Can I grow basil all year round?
Yes, you can grow basil indoors all year round. With adequate sunlight and proper care, basil can be a continuous, evergreen herb in your kitchen, regardless of the season.
